In this tutorial I will look at adding search function to your theme through Pagefind, GoatCounter and optimize your webpage for SEO using the SEO Plugins for Pelican.
Pagefind in Pelican
This is based on the instructions from the Pagefind documentation.
To add Pagefind in your theme, lets add a variable in your pelicanconf.py. As shown here in an example.
PAGEFIND = TrueIn the base.html file of your theme add the following in your head block. As shown here in an example.
<!-- pagefind -->
{% if PAGEFIND %}
        <link href="{{ SITEURL }}/pagefind/pagefind-component-ui.css" rel="stylesheet">
        <script src="{{ SITEURL }}/pagefind/pagefind-component-ui.js" type="module"></script>
{% endif %}
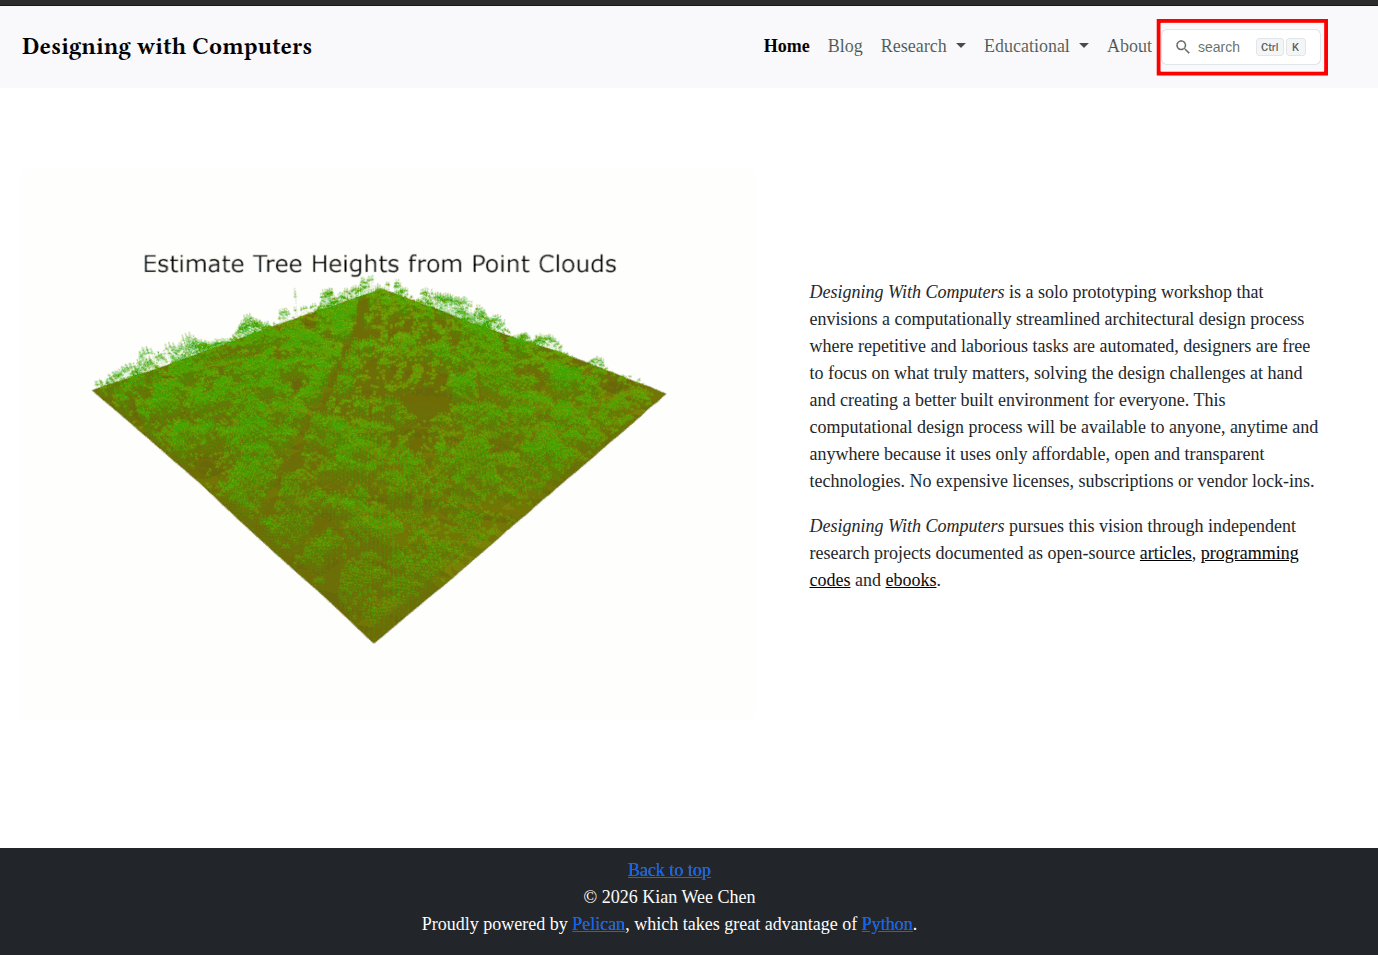
Put the following where you want your search bar to be located. In my designing with computer website it is located as shown here.
{% if PAGEFIND %}
        <pagefind-modal-trigger></pagefind-modal-trigger>
        <pagefind-modal></pagefind-modal>
{% endif %}
From our previous tutorial, we publish our website using github action. So we will need to specify our action to install Pagefind, index our website and publish in with github pages. Put in the following to your workflow yaml to instruct that action. Look at this workflow file to have a better idea.
- name: Pagefinder indexing
run: python -m pagefind --site ${{ inputs.output-path }}
An example showing the search bar.
Using GoatCounter to Understand Traffic to your Website
Sign up for an account at GoatCounter.
To add GoatCounter in your theme, lets add a variable in your pelicanconf.py. As shown here in an example. Put the custom url assigned to you by GoatCounter for counting traffic to your website.
GOATCOUNTER_URL = '<script data-goatcounter="your_custom_goat_counter_url" async src="//gc.zgo.at/count.js"></script>'In your base.html file put in the following. As shown here in an example.
{% if GOATCOUNTER_URL %}
        {{ GOATCOUNTER_URL }}
{% endif %}
Using Pelican SEO plugin
Add the following to your pelicanconf.py. As shown here in an example.
# pelican-seo variable
SEO_REPORT = True  # SEO report is enabled by default
SEO_ENHANCER = True  # SEO enhancer is disabled by default
SEO_ENHANCER_OPEN_GRAPH = True # Subfeature of SEO enhancer
SEO_ENHANCER_TWITTER_CARDS = False # Subfeature of SEO enhancer
In your pelican.yml workflow file install the pelican-seo plugin. As shown here in an example
with:
        settings: "publishconf.py"
        requirements: "pelican[markdown] pelican-seo pagefind[extended]"
You can install pelican-seo locally on your computer. Once you generate your webpage, a report will be generated to help you optimize your articles. You will be required to fill in your SITEURL to generate the report.
Writing Tutorials using Jupyter Book
In my opinion, Jupyterbook has a better theme for writing tutorials with code blocks and copy code functions built into the theme. As a result I prefer writing tutorial documents in Jupyterbook as compared to in Pelican. Thus, I investigated a workflow to integrate jupyterbook into my website development.
Jupyterbook has a good getting started guide if you are interested in learning the library.
Within my Pelican project folder I added another folder called ‘tutorials’. This is where I house my Jupyterbook project. I build the folder in my Pelican project by running the Jupyterbook init command.
jupyter book initI setup my Jupyterbook project as usual. The key to integration is in myst.yml I specify the toc as follows.
# See docs at: https://mystmd.org/guide/frontmatter
version: 1
project:
  id: 73a529aa-427f-49d1-b6bb-765f547e1084
  title: Designing with Computers
  # description:
  # keywords: []
  # authors: []
  github: https://github.com/chenkianwee/designing_with_computers
  # To autogenerate a Table of Contents, run "jupyter book init --write-toc"
  toc:
    # Auto-generated by `myst init --write-toc`
    - file: 00_intro.md
    - title: Pelican Tutorial
      children:
        - file: pelican_tutorial/01_intro_pelican.md
        - file: pelican_tutorial/02_start.md
        - file: pelican_tutorial/03_custom_theme.md
        - file: pelican_tutorial/04_ghpages.md
        - file: pelican_tutorial/05_ext_tools.md

site:
  options:
      folders: true
      logo: ../content/images/logo.svg
      # favicon: favicon.ico
  template: book-theme
The 00_intro.md file is just an empty markdown file. I also change the icon to my website icon.
When we build the html using ‘jupyter book build --html’, I copy and paste the files in the folder except the index.html (which is the 00_intro.md file because it is the homepage as specified in the toc) into the Pelican output folder.
By doing so the index.html file generated by Pelican will be serve instead.
Whenever you click on the home in the generated jupyterbook the user will be directed to the homepage of your Pelican website.
If you serve the Pelican output folder, you can access the htmls generated by Jupyterbook, For example, in my case the tutorials are accessible through this URL: {SITEURL}/pelican-tutorial/intro-pelican
I automate the whole process in the github action by adding a task into the file as follows:
github_pages.yml
- name: Add jupyter book html
working-directory: ./tutorials
run: |
        jupyter-book build --html
        rsync -av --exclude="/index.html" ./_build/html/ "../${{ inputs.output-path }}"
Everytime I make a commit, the action will generate the Pelican website, in addition it will also build the jupyterbook and copy-paste the html into the Pelican output folder.