Picking up from the previous tutorial Minimal Site with Landing, Blog Index and About Pages, this tutorial will be customizing the theme of the website. This tutorial walks you through how to partially customize your theme using bootstrap 5. This is the final look of the website.
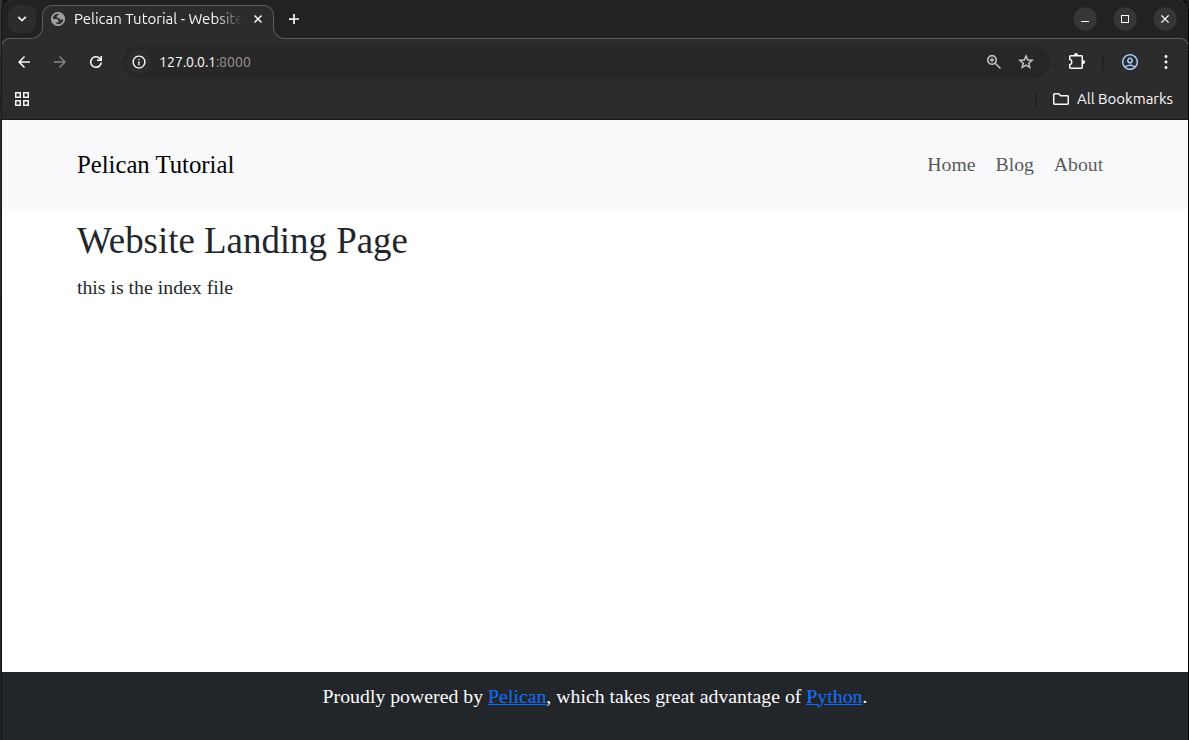
If you are not interested in learning how to customize your theme you can choose one of the pelican themes and apply it to your website. The theme of this website can be found here. Jump to the next tutorial on how to host your site on github pages.
Step-by-Step
Download Pelican. Extract the content from the zip. Go to pelican -> themes -> simple. Copy and paste the simple folder into the pelican project you created in the previous tutorial. Your pelican project structure should look like this.
content
output
themes
|----- simple
    |----- templates
Makefile
pelicanconf.py
publishconf.py
tasks.py
Change the name of the ‘simple’ folder to ‘simple_bootstrap5’.
content
output
themes
|----- simple_bootstrap5
    |----- templates
Makefile
pelicanconf.py
publishconf.py
tasks.py
Copy this line.
<!-- bootstrap -->
<link href="https://cdn.jsdelivr.net/npm/bootstrap@5.3.8/dist/css/bootstrap.min.css" rel="stylesheet" integrity="sha384-sRIl4kxILFvY47J16cr9ZwB07vP4J8+LH7qKQnuqkuIAvNWLzeN8tE5YBujZqJLB" crossorigin="anonymous">
<script src="https://cdn.jsdelivr.net/npm/bootstrap@5.3.8/dist/js/bootstrap.bundle.min.js" integrity="sha384-FKyoEForCGlyvwx9Hj09JcYn3nv7wiPVlz7YYwJrWVcXK/BmnVDxM+D2scQbITxI" crossorigin="anonymous"></script>
In the templates folder go to base.html and paste what you copied in step 3 in the head block. Here I paste it onto line 9-10 of the base.html file, just above the {% if SITESUBTITLE %} line. This will allow you to use the styles in bootstrap 5.
<meta name="viewport" content="width=device-width, initial-scale=1.0">
<!-- bootstrap -->
<link href="https://cdn.jsdelivr.net/npm/bootstrap@5.3.8/dist/css/bootstrap.min.css" rel="stylesheet" integrity="sha384-sRIl4kxILFvY47J16cr9ZwB07vP4J8+LH7qKQnuqkuIAvNWLzeN8tE5YBujZqJLB" crossorigin="anonymous">
<script src="https://cdn.jsdelivr.net/npm/bootstrap@5.3.8/dist/js/bootstrap.bundle.min.js" integrity="sha384-FKyoEForCGlyvwx9Hj09JcYn3nv7wiPVlz7YYwJrWVcXK/BmnVDxM+D2scQbITxI" crossorigin="anonymous"></script>
{% if SITESUBTITLE %}
    <meta name="description" content="{{ SITESUBTITLE }}" />
{% endif %}
I am going to style the navbar. First delete the original nav block in the base.html file shown here.
{% block nav %}
    <nav><ul>
    {% for title, link in MENUITEMS %}
        <li><a href="{{ link }}">{{ title }}</a></li>
    {% endfor %}
    {% if DISPLAY_PAGES_ON_MENU %}
        {% for p in pages %}
        <li><a href="{{ SITEURL }}/{{ p.url }}" {% if p==page %} aria-current="page" {% endif %}>{{ p.title }}</a></li>
        {% endfor %}
    {% endif %}
    {% if DISPLAY_CATEGORIES_ON_MENU %}
        {% for cat, null in categories %}
        <li><a href="{{ SITEURL }}/{{ cat.url }}" {% if cat==category %} aria-current="page" {% endif %}>{{ cat}}</a></li>
        {% endfor %}
    {% endif %}
    </ul></nav>
{% endblock nav %}
Replace it with the following block.
{% block nav %}
  <nav class="navbar bg-light navbar-expand-lg">
    <div class="container px-2 py-2" >
      <a class="navbar-brand" href="{{ SITEURL }}/">{{ SITENAME }}</a>
      <button class="navbar-toggler" type="button" data-bs-toggle="collapse" data-bs-target="#navbarSupportedContent" aria-controls="navbarSupportedContent" aria-expanded="false" aria-label="Toggle navigation">
        <span class="navbar-toggler-icon"></span>
      </button>
      <div class="collapse navbar-collapse" id="navbarSupportedContent">
        <ul class="navbar-nav ms-auto mb-2 mb-lg-0">
          {% for title, link in MENUITEMS %}
            <li class="nav-item">
            <a class="nav-link" href="{{ link }}">{{ title }}</a>
            </li>
          {% endfor %}
          {% if DISPLAY_PAGES_ON_MENU %}
            {% for p in pages %}
            <li class="nav-item">
                <a class="nav-link" href="{{ SITEURL }}/{{ p.url }}" {% if p==page %} aria-current="page" {% endif %}>{{ p.title }}</a>
            </li>
            {% endfor %}
          {% endif %}
          {% if DISPLAY_CATEGORIES_ON_MENU %}
            {% for cat, null in categories %}
            <li class="nav-item">
                <a class="nav-link" href="{{ SITEURL }}/{{ cat.url }}" {% if cat==category %} aria-current="page" {% endif %}>{{ cat }}</a>
            </li>
            {% endfor %}
          {% endif %}
        </ul>
      </div>
    </div>
  </nav>
{% endblock nav %}
In your pelicanconf.py file change the THEME setting to the following:
THEME = 'themes/simple_bootstrap5'Preview your website using the following command.
pelican -rlYou should see your navbar as such.
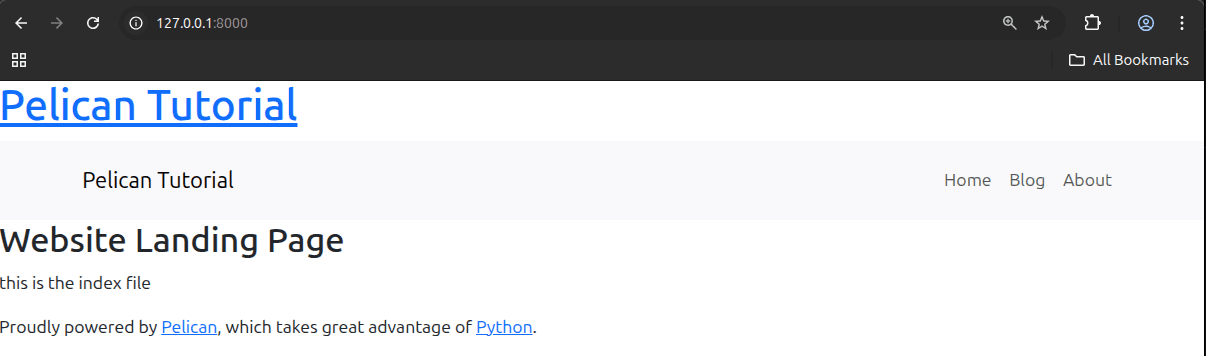
If you minimize it you can see the items collapse into a hamburger icon. All these are styles from bootstrap5.
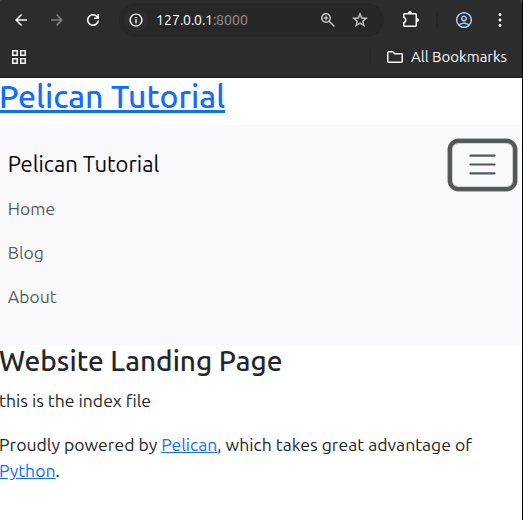
Delete this header block as we have already embedded the main site name in the navbar brand.
{% block header %}
  <hgroup><h1><a href="{{ SITEURL }}/">{{ SITENAME }}</a></h1>{% if SITESUBTITLE %}<p>{{ SITESUBTITLE }}</p>{% endif %}</hgroup>
{% endblock header %}
Delete the main block
<main>
  {% block content %}
  {% endblock content %}
</main>
Replace it with the following so that the body is align with the navbar
<main class="flex-grow-1">
  <div class="container mb-5 px-2 py-2">
    {% block content %}
    {% endblock content %}
  </div>
</main>
Replace the footer with the following block
<footer>
  <div class="px-5 py-2 bg-dark text-white text-center">
    {% block footer %}
      <address>
        Proudly powered by <a rel="nofollow" href="https://getpelican.com/">Pelican</a>,
        which takes great advantage of <a rel="nofollow" href="https://www.python.org/">Python</a>.
      </address>
    {% endblock footer %}
  </div>
</footer>
If you run a preview you will realize the footer is floating around the page depending on the length of the content. Add new bootstrap classes to the body tag. Specifically the min-vh-100 will make sure the body of the page stretched 100% vertically, pushing the footer to the bottom of the page regardless of the content.
<body class="d-flex flex-column min-vh-100">Next go to themes/simple_bootstrap5/ and create a folder ‘static’ and in the static folder create ‘css’. In the css folder create a file called ‘style.css’. Copy and paste the css here into the file.
html {
  /* Increase from the default 16px to 18px or 20px */
  font-size: 18px;
}

body {
  /* "Libertinus Serif" is the specific name from the CDN above */
  font-family: "Libertinus Serif", serif !important;
}

/* Optional: Ensure Bootstrap headings use it too */
h1, h2, h3, h4, h5, h6, .h1, .h2, .h3, .h4, .h5, .h6 {
  font-family: "Libertinus Serif", serif !important;
}
Go to the base.html and specify the style.css and where to download the font Libertinus Serif for use in the website. Paste the following in the head of the base.html
<!-- font -->
<link rel="stylesheet" href="https://cdn.jsdelivr.net/npm/@fontsource/libertinus-serif@5.0.19/index.css">

<!-- stylesheet -->
<link rel="stylesheet" type="text/css" href="{{ SITEURL }}/theme/css/style.css">
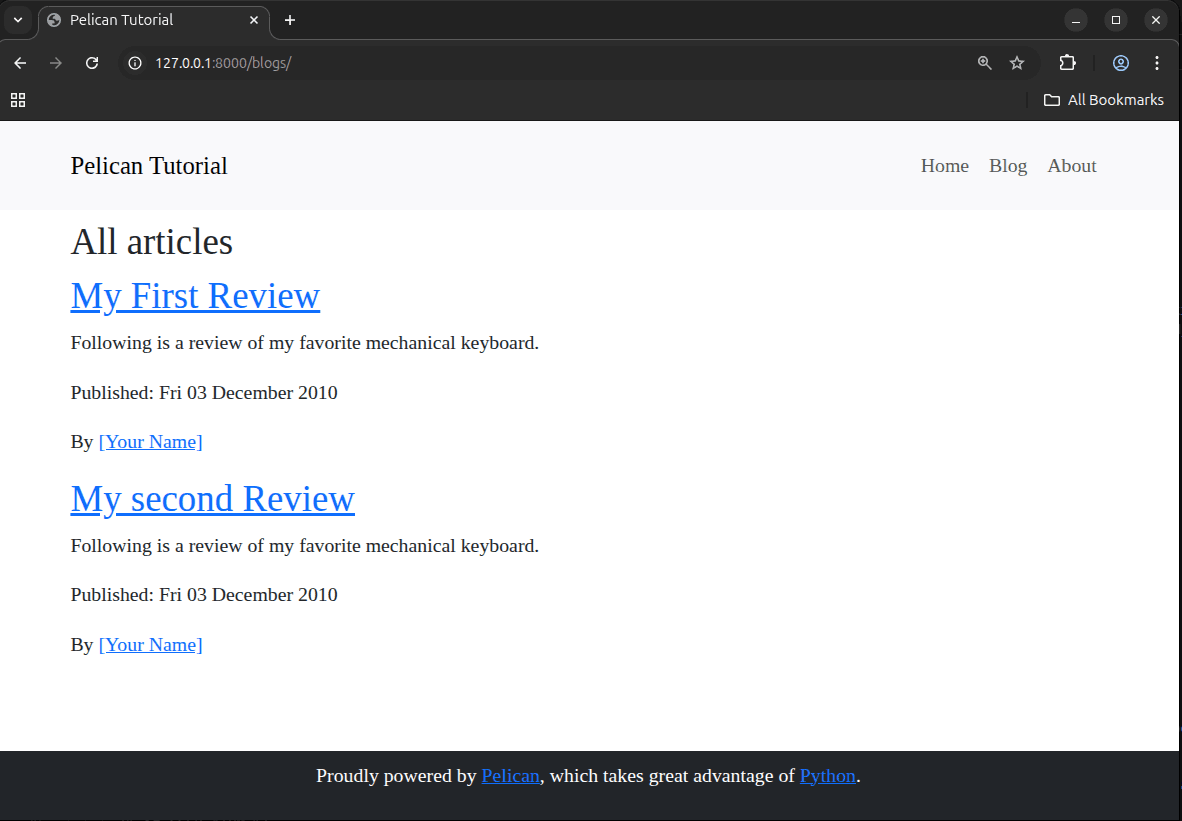
This is how your website should look. Next we will publish the website onto github pages so you can share your webpage with everyone online.
Explanation
If you are interested in what the bootstrap classes means refer to the documentation. For example all the padding classes px-2 py-2 you can refer to this documentation for explaining their functions. Of course you can always consult one of the many LLMs to explain the classes to you or even generate some html and css for what you want to achieve.
Start Bootstrap is a great resource for bootstrap themes examples. I often use their examples as reference and translate them to the jinja templates. W3Schools has quite nice exercises for you to get familiar with bootstrap 5 too.